Lottie Sewalong: Staystitching & Bust Darts
In today's Lottie Top, Dress, & Tunic Sewalong post, we are finally sewing! Yay! Whenever I teach classes, it seems to always amaze my students how much work there is in sewing before we are actually sewing anything! But it's so true; sewing is also cutting, marking, measuring, making muslins, gathering supplies, and so much more. But for me, my favorite part of any project is the actual construction. So here we go!
Staystitching
Staystitching is key to help stabilize the threads of the fabric on curves while you handle your fabric. But even after staystitching, I suggest you be very very careful of how you handle the curves, in this case, the neckline. I try to discourage my students from trying on projects unless we need to check the fit, because every time you pull it over your head, there's a real possibility of stretching the fabric out, which will leave you a very unhappy neckline. Here's how to do it, on all views:
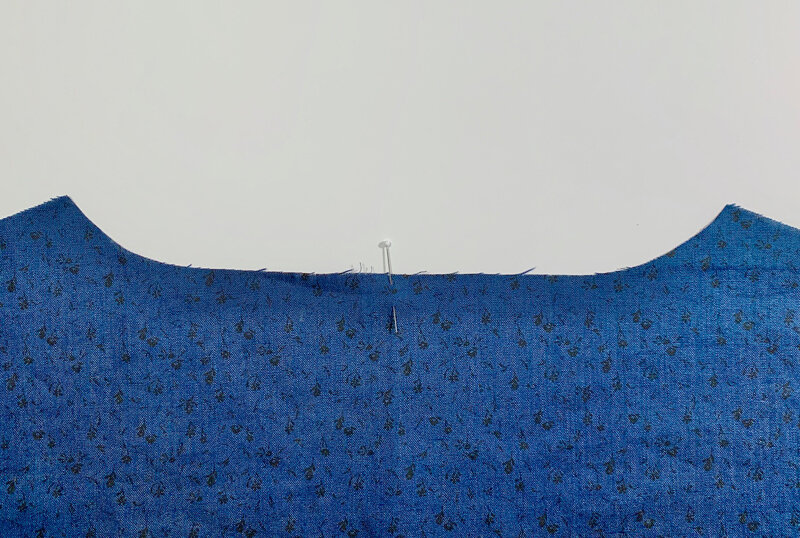
We will need to know where the center point is on both the front and back pieces along the neckline. There are notches at the center, but to make it super easy for you to find while sewing, you can do as I do and place a pin at the center so there’s no question as to where it is.

2. Staystitch the shirt or dress neckline front at a 3/8" seam allowance. Only stitch from the shoulder to center of the neckline. This stitch is a regular length stitch, that doesn’t need any back stitching.
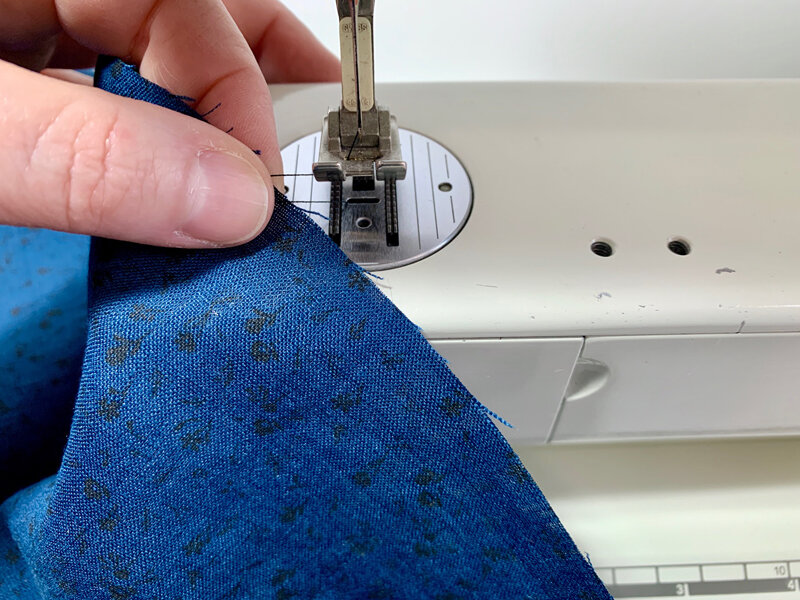

3. When you get to the center, stop and pull the piece out. However, be careful not to pull on the fabric itself. Instead, grab the threads and pull along the threads instead. The whole point of staystitching is to prevent the neckline from getting stretched, so we do not want to pull on the fabric during this step! Simply grab the threads, pull the fabric out, and then clip the threads.

4. Repeat on the opposite side from shoulder to the center of the neckline. This way you are sewing both sides toward the center of the neckline opening, instead of one side toward it, and one side away from it, which can cause the fabric to warp differently around the curve.
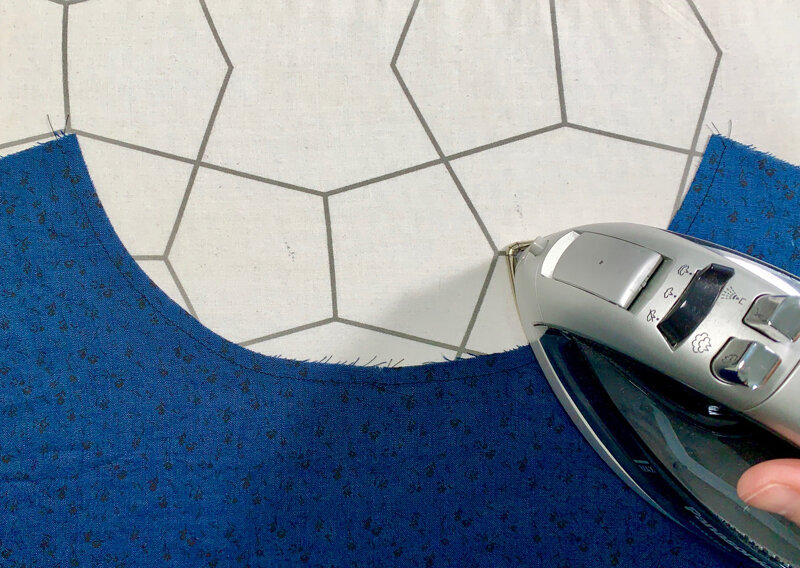
5. Give the neckline a press with the iron, being very careful not to stretch it in the process. Repeat this process so both of the necklines on the front and back are staystitched.
Darts
Bust darts can be sewn in so many ways. Pretty much everyone who sews has their favorite method for this step that appears on nearly every garment. This is my personal method, and it’s served me perfectly for my 40+ years of sewing!
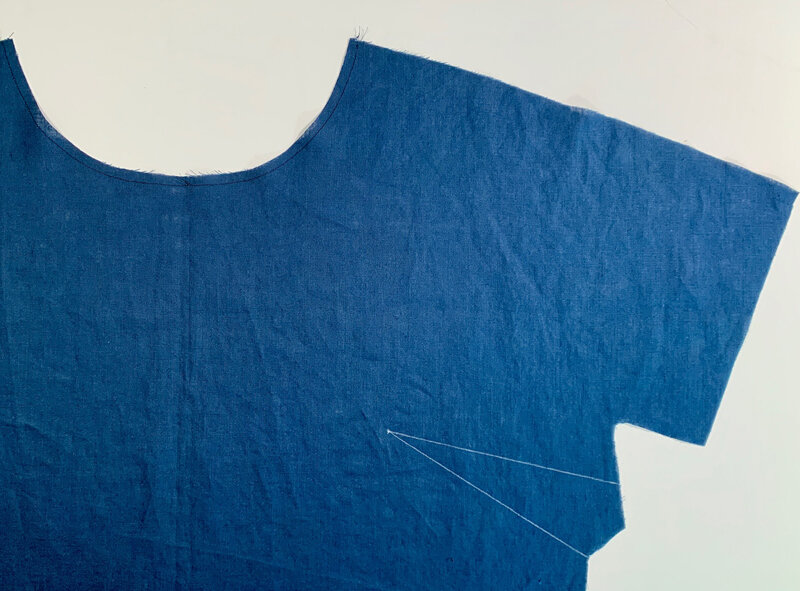
1. If you haven't already transferred your bust dart markings to the wrong side of your fabric, as pictured above, do so now.
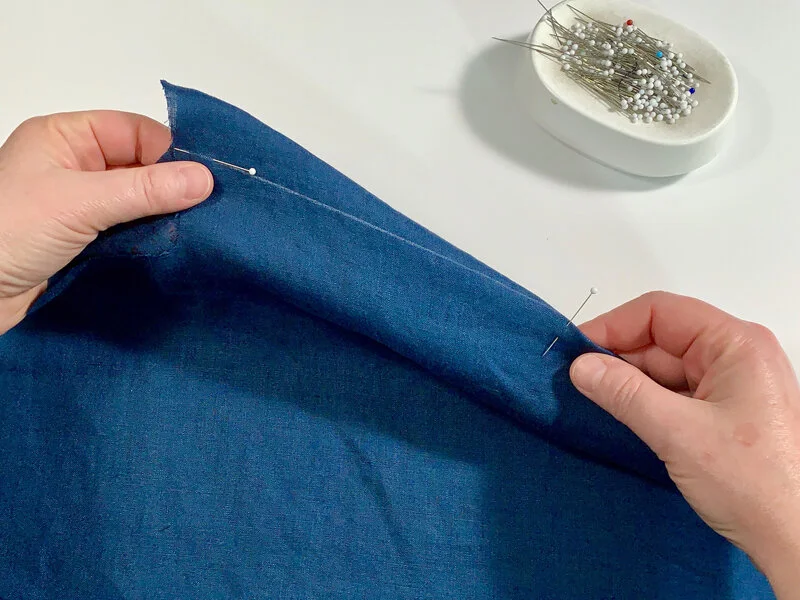
2. Fold the fabric of the dart, right sides together. The apex should be in your right hand, and the end of the dart legs in your left hand. Place one pin perpendicular at the apex, through the layers. Place a pin at the end of the dart legs, through the lines your drew, with the head of the pin facing the apex of the dart.
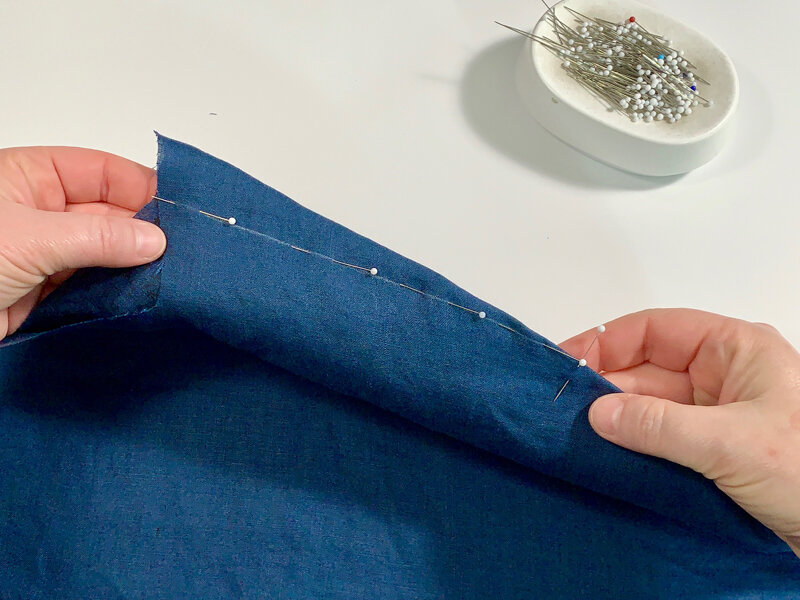
3. Continue placing pins through the lines of the dart, with the heads of the pins facing the apex.
4. Flip the dart over to confirm that the pins are going through the dart lines on the back side as well. This will ensure that when you’re sewing on the other side, you’re actually sewing through both lines of the dart at the same time.

5. Start sewing the dart at the edge of the fabric, and sew a backstitch. Continue sewing along the line you drew, pulling the pins out as you get to them. Be careful to not shift the layers of the fabric after removing the pins so that the legs of the dart remain on top of each other.

6. When your stitching is approximately 1/2–3/8" from the apex, stop sewing and turn your stitch length down to 1.0. Stitch the remainder of the dart at this very short and tight stitch length. Do not backstitch or turn off your line. Simply sew right off the fabric as you follow your line.
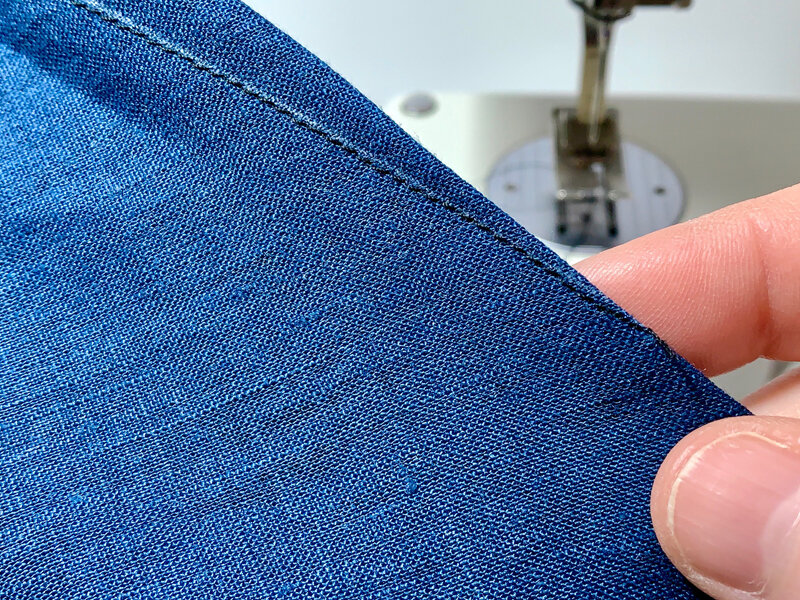
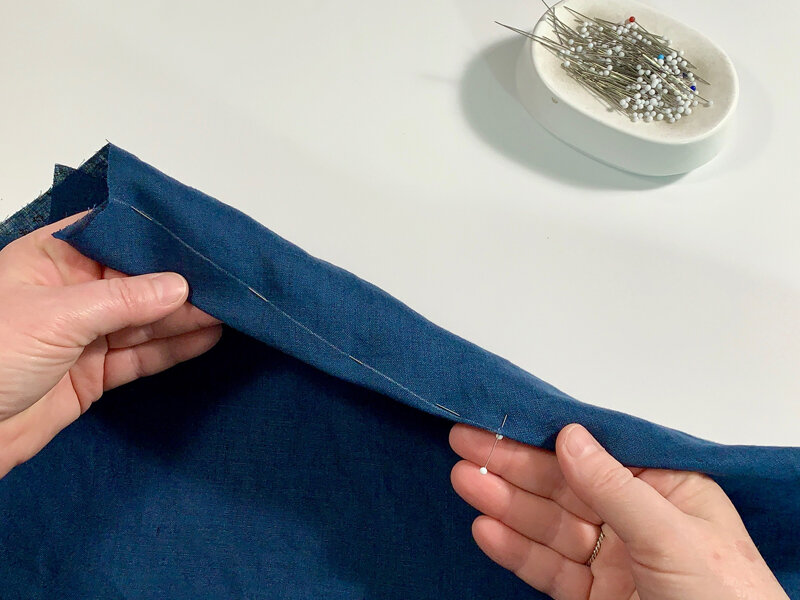
7. Your stitching will look something like this image above. There's no need to backstitch or tie off the threads. By simply sewing at a 1.0 stitch length, it stays tight. Backstitching or tying off the threads create a bump at the apex of the dart, which is the last place you want a bump!

8. Place a pressing ham under the dart and press the dart with the excess fabric pressed down towards the hem. Use the small end of the ham at the apex to smooth it out. Now that you've folded the fabric, it will no longer sit flat on a surface, as we've shaped it for our curves, so the ham will take the place of your bust and will greatly assist in a successfully pressed dart.
A successful dart looks like a seam that ends. There should be no puckers, bumps, or pointy bits. Use the ham to shape and mold the dart with the heat and steam of your iron if your dart isn't smooth.
Great job! It’s starting to look like something now! In our next post, we will focus on the sleeves and pockets!