Lottie Sewalong: Shoulder Seams
In today’s Lottie Dress, Top, & Tunic Sewalong post, we will join the front and backs along the shoulders! This is a very simple step, but there are a couple of important tips to ensure getting a perfect neck opening, so read along!
Now that we have our front and back garment pieces prepared, we can join them at the shoulder seams. To recap, here’s what you should have done before this step:
Garment front neckline staystitched
Garment back neckline staystitched
3/4-length or long sleeve extensions sewn to garment front and topstitched
3/4-length or long sleeve extensions sewn to garment back and topstitched
Patch pockets created and sewn to garment front
Okay, if you’re ready, let’s sew the shoulders!

Place the garment front on the garment back, right sides together. Line up the shoulder seams and start by pinning at the sleeve hem, and the seam for the sleeve extension if applicable. Be sure to take a moment and really line up the seam where the sleeves are sewn on.
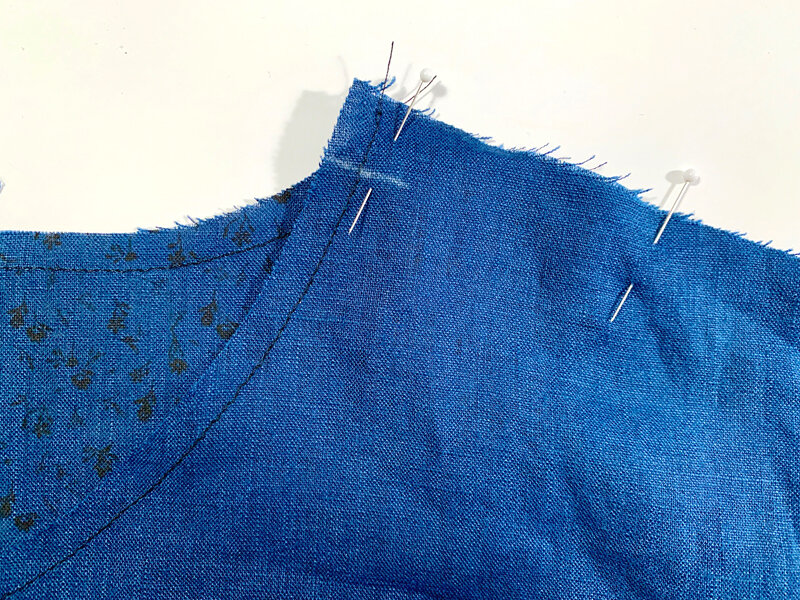
2. Before you pin at the neckline and along the rest of the shoulder, take a moment to mark 5/8” down from the shoulder along the front neckline. The front and back need to intersect at 5/8” along the neckline curve. Because of this, the garment front piece will actually hang off into the neck curve a little bit on the top edge, because the curve needs to intersect at the seam allowance. I marked it with water soluble chalk in my photo above, and then pinned it in place. After that, continue pinning between the sleeve hem and the neckline.

3. Sew the shoulders at the 5/8” seam allowance, again making sure that the neckline curve hits at the right spot, and that your sleeve extensions line up. Because the shoulders are slightly sloped, it is best to sew them both in the same direction. I prefer to go from neckline to sleeve hem on both sides. This ensures that if they stretch at all, they do so in the same direction, away from the neckline.

4. Finish the seam allowance as desired. I choose to use my serger, but you can use whatever method works for you!

5. If you finished your seam allowances together as I did, press them towards the back. If you finished them separately, press the seam allowance open. I recommend using a pressing ham for this step, so it can take the place of your shoulder curve.
That’s it for this step! The next one is a big one: creating the facings, sewing them on, understitching, and topstitching! So get ready!