
Lottie Sewalong: Belt & Hems
We made it to the last (official) post in the Lottie Dress, Top, & Tunic Sewalong! I say it’s the last “official” post, because I will also be writing a few bonus posts this week as well! But today’s entry is the final post to help you go from start to finish with all the steps in the instruction booklet. Today we are wrapping things up with the hem on the sleeves, the hem on the garment, and the optional sash belt. So let's get to it!
Sash Belt
The belt can be added on to any view you like, if you’re into having some waist definition in your garment. But know that it’s entirely optional, if you’d prefer to wear your Lottie without it! I’m sure many, if not all of you, have sewn a sash belt before, so this might seem basic. But there is one thing I do slightly different from other sash belts I’ve seen out there. So perhaps give it a browse even if you know how to do this step!

Place the two belt pieces right sides together, and sew along the short end so they form one long belt. Press the seam allowance open, or to one side if sewn with a serger.

2. Fold the belt in half, right sides together. Pin the short ends and the long open end, making sure to keep raw edges lined up. At the center seam, mark a spot approximately 2” on either side to indicate to you where to leave the seam open for turning right side out.
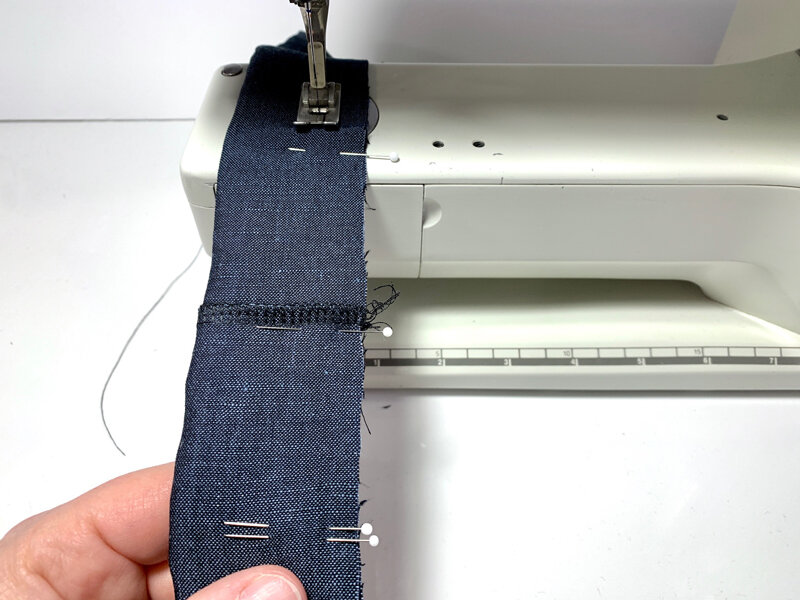
3. Sew the short end, pivot at the corner, and sew until approximately 2” from the center seam. Backstitch and pull the fabric out. Place the fabric back into the machine approximately 2” from the other side of the center seam, leaving a 4” opening at the seam. Again, backstitch and sew to the other end, pivot at the corner, and sew the short end.

4. Trim the seam allowance in half at the short end. Clip off the corner, and trim the seam allowance on the long edge in half as well. Be sure to NOT trim the area near the opening.
5. Your belt should look like this now. The opening area should retain the full 5/8” seam allowance, but the rest of the belt should have the seam allowance trimmed in half. This is the part I’ve not seen on other patterns in the past. Most people trim all of the belt, but I have found that it is much harder to get a smooth edge at the opening if you trim the seam allowance at the opening.

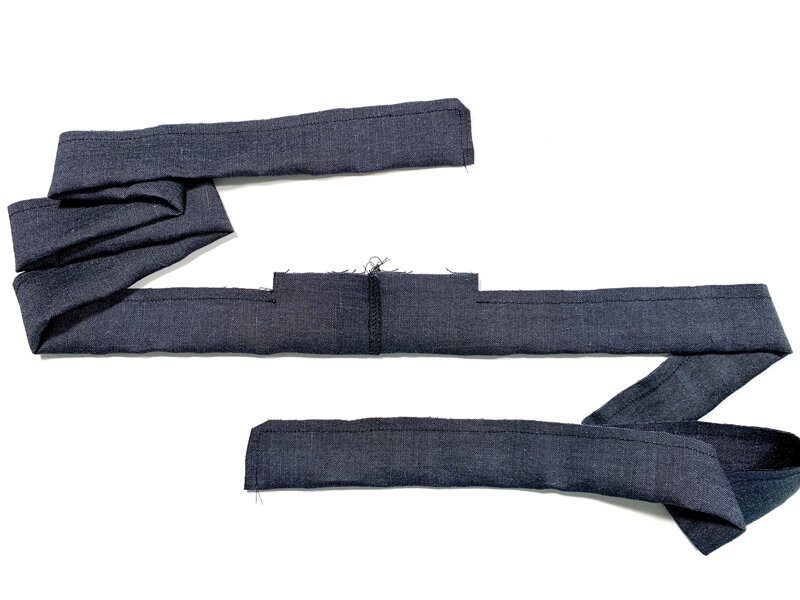
6. Turn the belt right side out, poke out the corners on either end, and press the entire belt flat, except along the opening at the center seam.
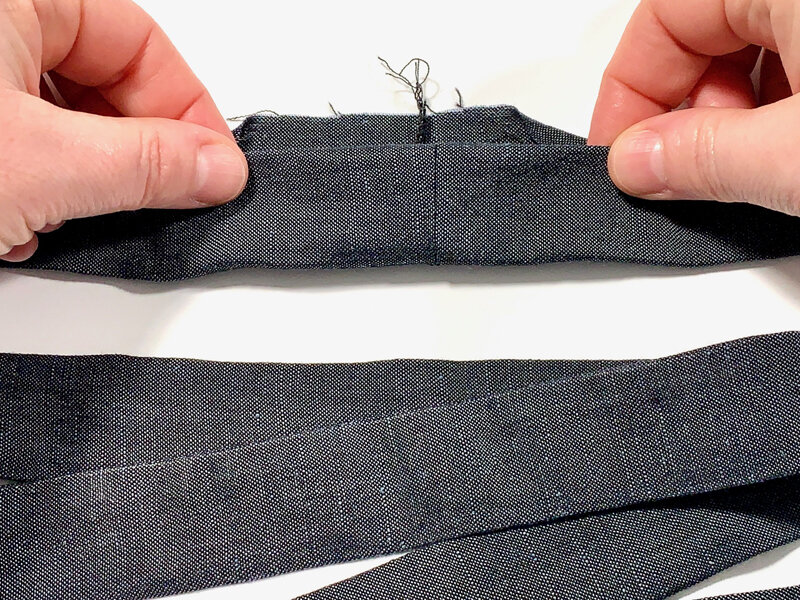
7. Tuck the seam allowance in on one side of the belt and finger press the fold.

8. Tuck the other side in and repeat. Make sure the two sides line up with each other, and with the belt itself, so the side of the belt looks perfectly smooth along the side edge.
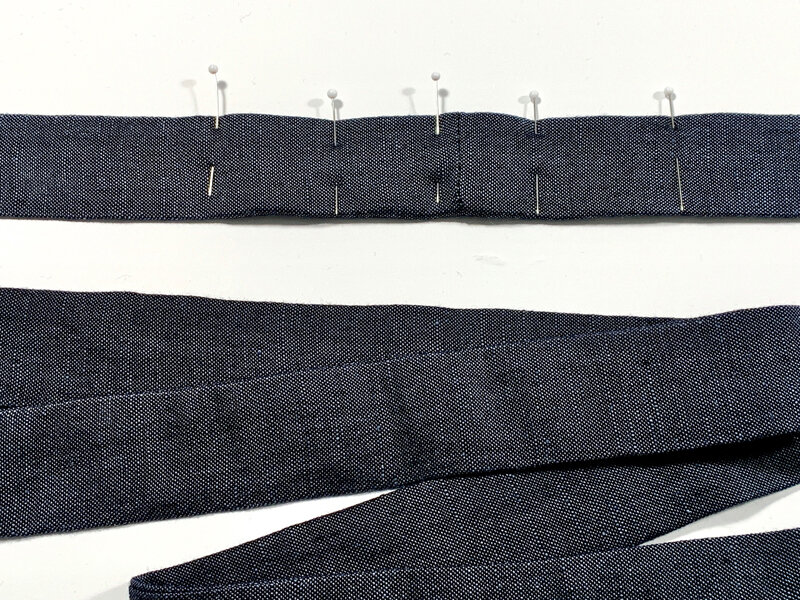
9. Press the folds, and pin the opening closed.
10. Edge stitch all four sides of the belt, stitching close to the edge, and closing up the opening at the same time. Give the whole belt a final press with the iron, and it’s done!
Hemming the Garment


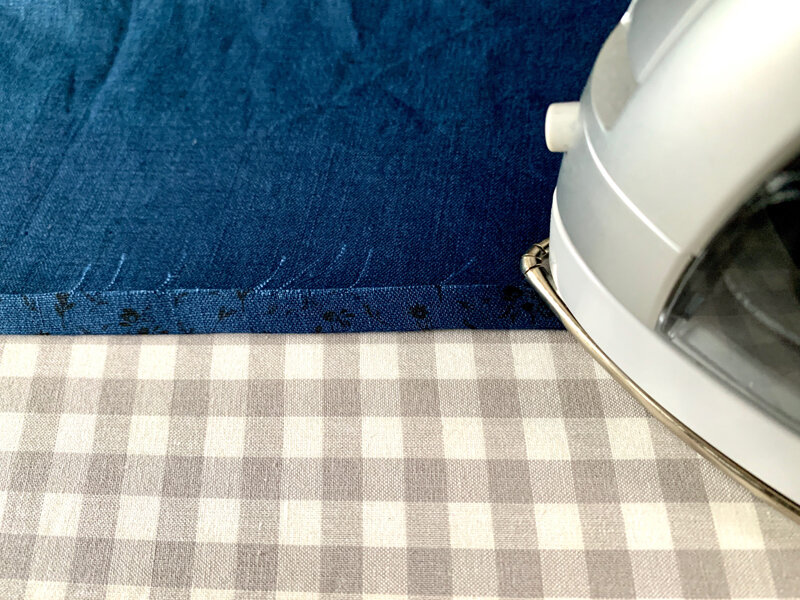
For all the views, the hemming is the same, even if you have a vent involved. Turn your garment wrong side out. Fold the hem up wrong sides together 1/4" and press. Fold the hem another 3/8" and press again.
If your garment has vents (pictured above), you will be pressing in two sections: the front from vent to vent, and the back from vent to vent. If your garment does not have vents (pictured below), you will simply be pressing in the round.

Hemming the Sleeves
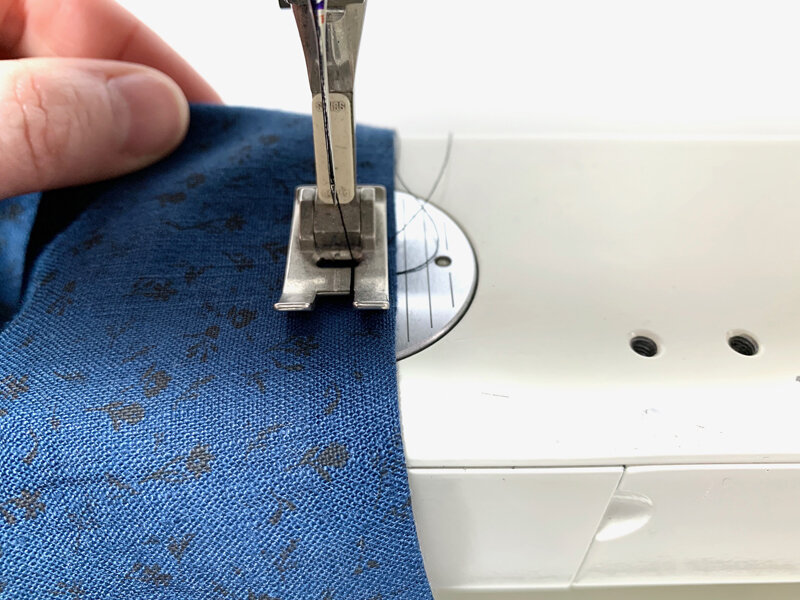
Hemming all the sleeves are the same as hemming above: simply fold and press wrong sides together 1/4”, fold and press another 3/8”, stitch it in place, and finish by giving it a final press.
I have seen a lot of questions about how to avoid getting the "swoop" at the hem of the sleeves for this pattern, and there are a couple of main tips to help prevent this from happening:
Don't stretch it
Because the sleeve is a dolman sleeve, the hem is on the bias, making it very susceptible to unwanted stretching. So while you are handling the garment, sewing the shoulders and side seams, and trying it on to check the fit, be very careful not to stretch out the sleeve hem accidentally.
Don't pre-fold it
Something I often do on my sleeve hems is fold and press the hems before I sew the side seams, when the sleeves are still flat and not yet in the round. That's fine for a traditional sleeve, but it's the fastest way to accidentally stretch out this kind of dolman sleeve. Once the shoulder and side seams are sewn, and you are pressing the sleeve hem in the round, it can't really stretch out to the same degree that it would if it had an open end on either side. The structure of the closed circle will help restrict it to that distance.
And that is a wrap! Congratulations! You are now finished with your Lottie. I do have a couple bonus posts to follow, so look for those soon!