
Lottie Sewalong: Finishing the Neckline with Binding
In the original version of the Lottie Pattern, the neckline was finished with bias binding. When I relaunched the Lottie, I decided to use a facing instead, which I prefer. However, if you prefer the binding, or if you only have the original version, I wanted to post the steps from the original sewalong, where I show you how to do the neckline with binding. Also, if you have the original and want to use the sleeveless version, these are all the same steps for finishing the sleeveless armhole opening. So read on if you want to give it a go with the binding instead of the facing!
Originally posted on June 24, 2016, below is the binding post from the original Lottie Sewalong:
Neck Binding
Finishing a neckline opening with bias binding is a very common practice, yet I often hear from my students that they struggle with getting this part to look perfect and professional. There are three main tips:
Press a lot and use a ham!
Try not to stretch the neckline or the binding during this whole process.
Be as precise as possible, as there isn't a lot of room for error. Go slow and take your time.
I tried to help out the beginners by not reducing the seam allowance when sewing on the binding, as I've seen in classes that things can go terribly awry when you ask a new sewer to sew binding on at a 1/4" seam or something equally tiny. You still need to be on the money with your 5/8" seam, but I think it eases the mind to have all that extra fabric to hold on to during the process.

1. Fold the neck binding in half, right sides together, and line up the short ends. Pin them together and sew. Trim the seam allowance in half.

2. Press the seam allowance open. Fold the neck binding in half, wrong sides together, and press. Make sure your raw edges are line up perfectly.

3. Divide the neck binding into four equal parts and mark with pins.

4. Divide the neckline into four equal parts and mark as well. If you didn't snip the center front and center back during the marking process, find the center front and center back by placing the shoulder seams together. Be careful not to stretch out the neckline during this step. Find the remaining two points by working from the center front and center back. Note that the shoulder seams are not the midway point between center front and center back. They will be forward of the shoulder seams.

5. Pin the binding to the neckline by matching the four quarter spots. The raw edge of the binding should be facing up and the fold should be down.

6. Continue by pinning in between the four anchor points, lining up the raw edges around the neckline opening. If you didn't stretch anything out and cut and sewed your binding and shoulder seams correctly, there should be no easing necessary. They should line up just right.

7. Sew the binding to the neckline at a 5/8" seam allowance. Take your time and be consistent as the binding on the left of your needle needs to be equal all the way around your neckline.

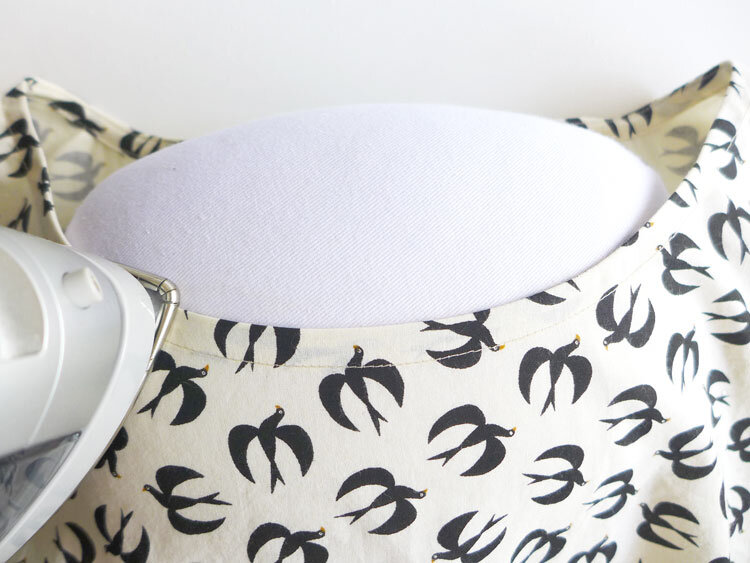
8. Using a pressing ham under the neckline, press the binding up toward the neckline opening. Really open the seam and press it flat.

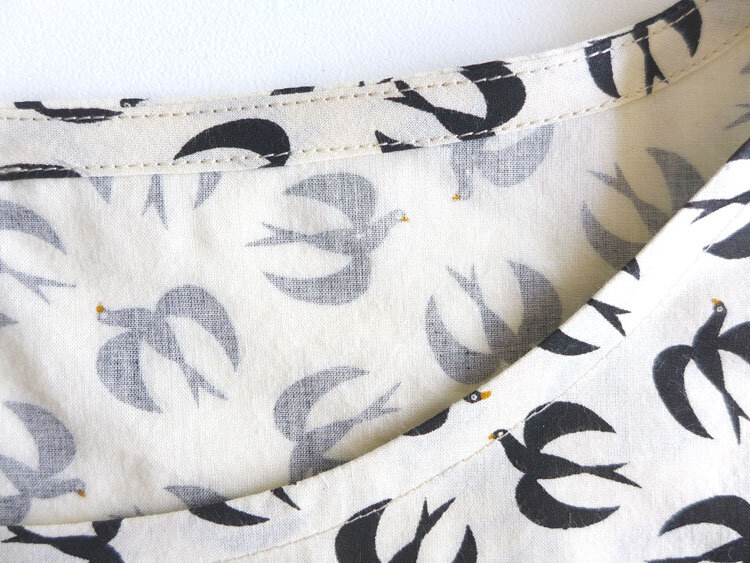
9. Understitch the neckline by sewing through the binding and the seam allowance only. Your stitch will be directly to the right of the seam from the last step. Go slow and sew as close as you can to the seam without crossing over.
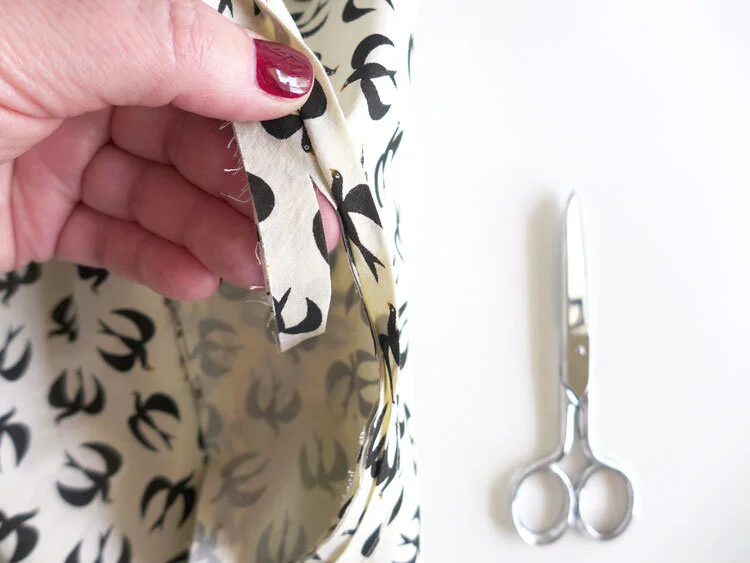

10. Trim away the excess seam allowance from inside the neckline. This is a great moment for 5" scissors. It's also a great moment to be very careful as you don't want to cut anything but the seam allowance!

11. Turn the garment wrong side out and place a pressing ham under the neckline. Fold the binding to the inside of the neckline, rolling about 1/16" of the fabric along with it. The understitching will help you fold this easily. Press very well all the way around the neckline and pin in place for stitching.

12. Sew the binding all the way around the neckline. Sew as close as you can to the edge of the binding. This is when you see that if your binding isn't consistent, your exposed topstitching will be uneven. It pays to be slow and accurate!
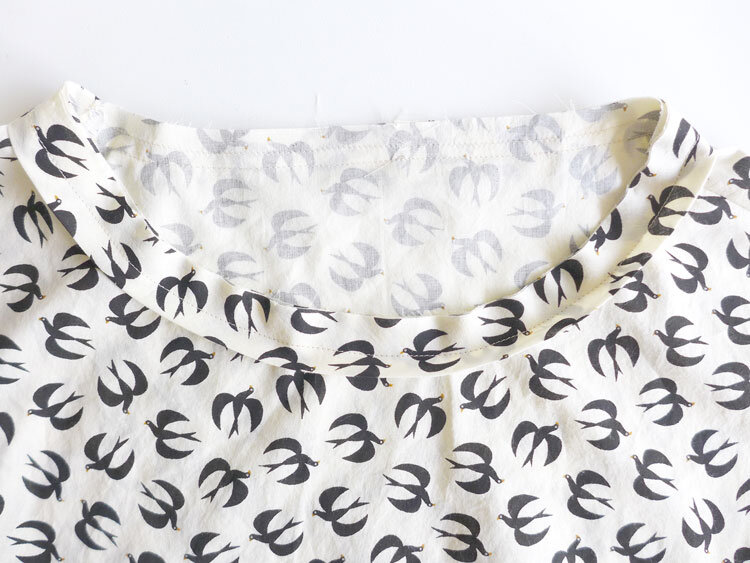
13. It's really key to press the binding well after sewing. I often see photos of bindings that are standing up on necklines, but that's because they aren't pressed well. Turn your garment right side out and place the pressing ham under the neckline to take the place of your body. Press the binding well, working it around the curve of the ham. It should be flat and smooth, not standing up away from the neckline.
And you should now have something that looks like the image above! Feeling uneasy about this process? Practice it first on some scrap fabric or muslin! Once you do it a few times it will be easier to be perfect, but just do your best. Also, slippery fabrics are not your friend when it comes to bias binding. If you're new to this, I highly suggest making your Lottie in something stable like cotton.