Lottie Sewalong: Creating a Center Seam
When I went to gather fabrics for the Lottie Sewalong, I really wanted to use as much from my stash as possible, but I just didn’t have quite enough of the linen I wanted to use for the top version. However, if I turned either the back or front piece around, taking if off the fold of the fabric, I had plenty!
I don’t mind including a center seam on a garment, as long as it looks intentional. So for this instance, I wanted to make sure it appeared like a design choice, and not a decision made due to a lack of fabric. I decided to do a simple seam that is pressed open, but then folded under and topstitched. So on the right side you see the seam and the topstitching, but on the inside, you have a clean finish.
I chose to put the front piece on the fold, and turn the back piece to have the center seam, but you can do this on either piece you like. Just remember to include seam allowance, since you are creating a seam where there isn’t one! Below are the steps I took for creating an intentional looking center seam on the back on my Lottie Top if you’d like to do this on yours!

As you might remember from the Cutting & Marking post, I added a 5/8” seam allowance along the center back, since I was not cutting it on the fold as indicated on the pattern.

2. Pin and sew along the center back seam, using the 5/8” seam allowance added in during the cutting process.

3. Press the seam allowance open.

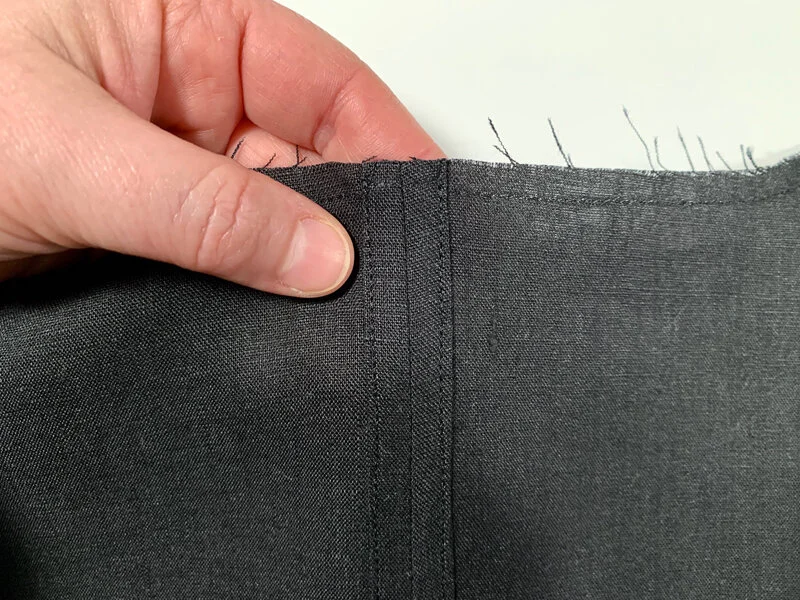
4. Fold each side of the seam allowance under and press.

5. Topstitch the seam allowance in place, sewing 1/4” from the seam on each side.

6. Give the seam a final press, and that’s it! It should look like the above image on the right side- just a seam that is topstitched on either side, and like the below image on the wrong side- each side of the seam allowance, turned and stitched in place.